I have been working designing interfaces for the web for over 15 years and for the past couple of years I have seen the switch to native apps being a big shift in the industry. I am a huge fan of the web but it's important to keep up with the industry. The design process also has been evolving and getting close to the Industrial Design process I was taught in school, where prototyping is a crucial part of the process. So in order for me to test my designs I have been relying on different tools and techniques to prototype. From pure Javascript/CSS/HTML5 to Framer I have seen a lot of potential, however for me, especially at work, I felt that using the native tools would give me a much better understanding of how to talk to engineers, see how things really work and if possible, help with the front-end process.
So for this tutorial and a new series of tutorials I will show you how to create Android prototypes using Android Studio. I am far from proficient in Java, but I have been self-teaching myself by trial and error and use Google Search for most of my answers. So, I will try to share a bit of what I've learned along this new journey and I hope you can avoid making the same mistakes I made and save some extra time. In the end, the most important thing you will be able to visualize is your prototype running on your phone.
Step 1
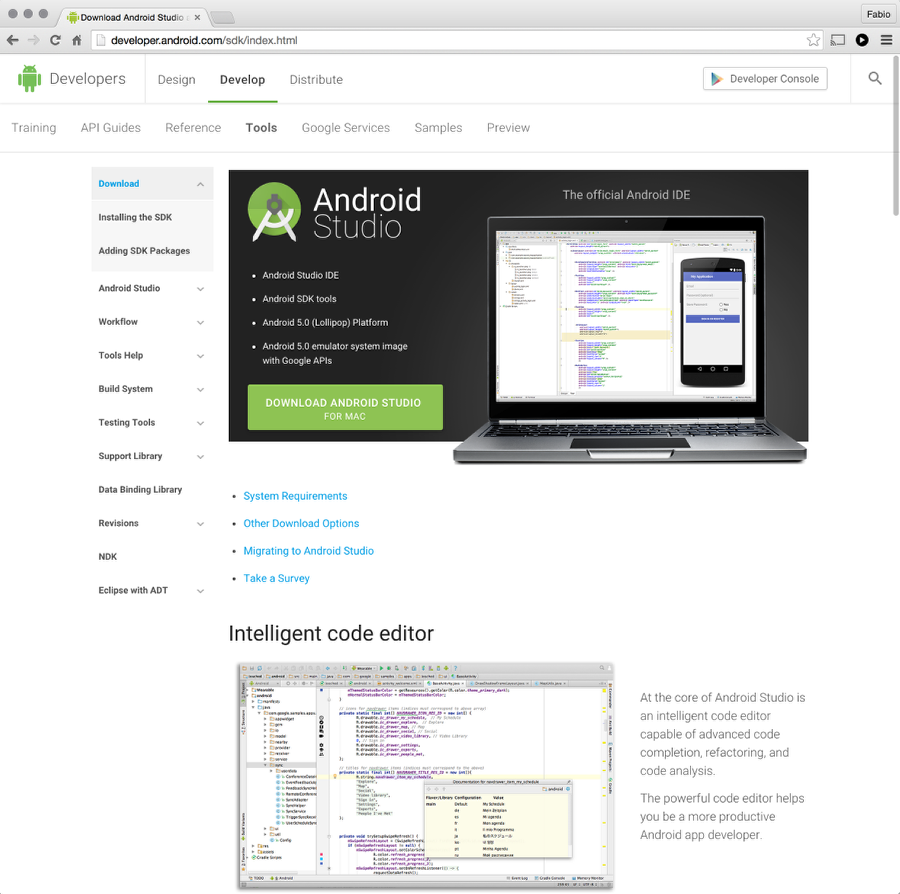
First thing to do is to download Android Studio. Go to http://developer.android.com/sdk and download your copy of Android Studio.
Step 2
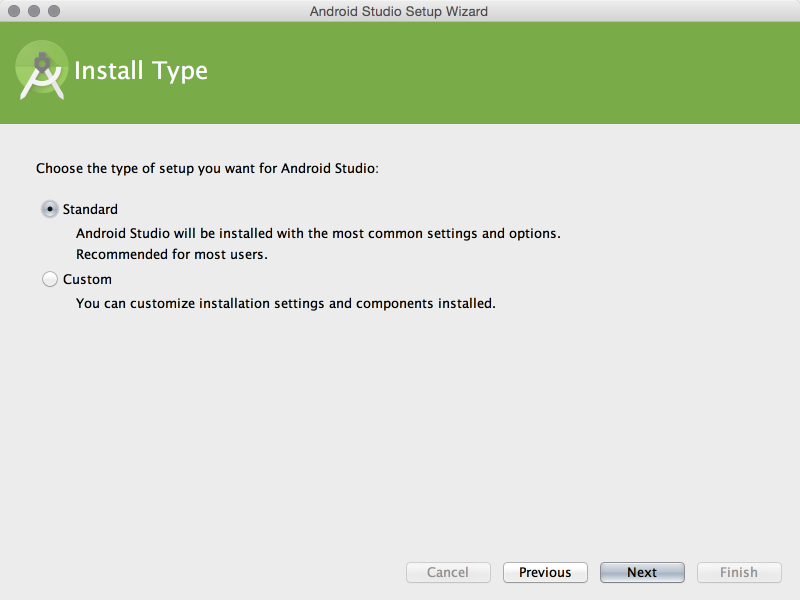
After downloading, install the app following the recommended options

Step 3
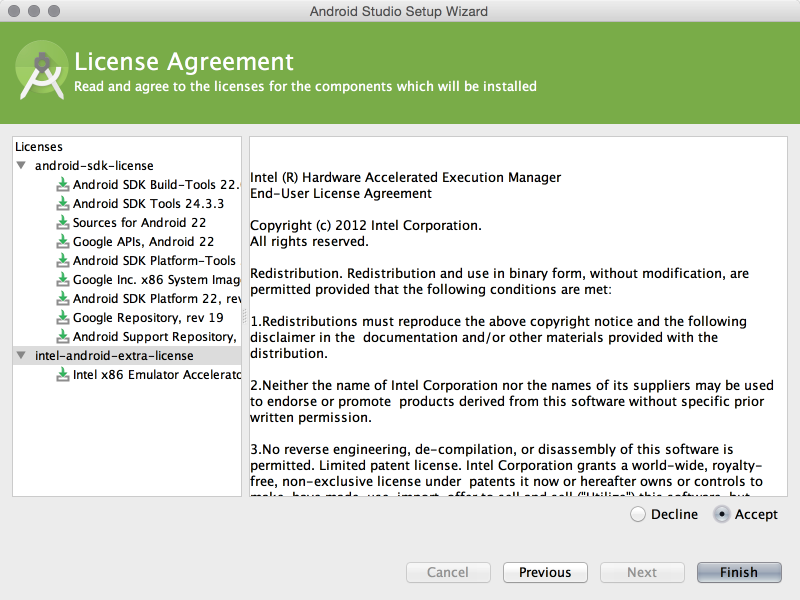
Select the Licences and then select the Accept options. I know this sounds obvious but it took me a bit of time to figure our how that worked, I am just trying to save you some time ;)
Step 4
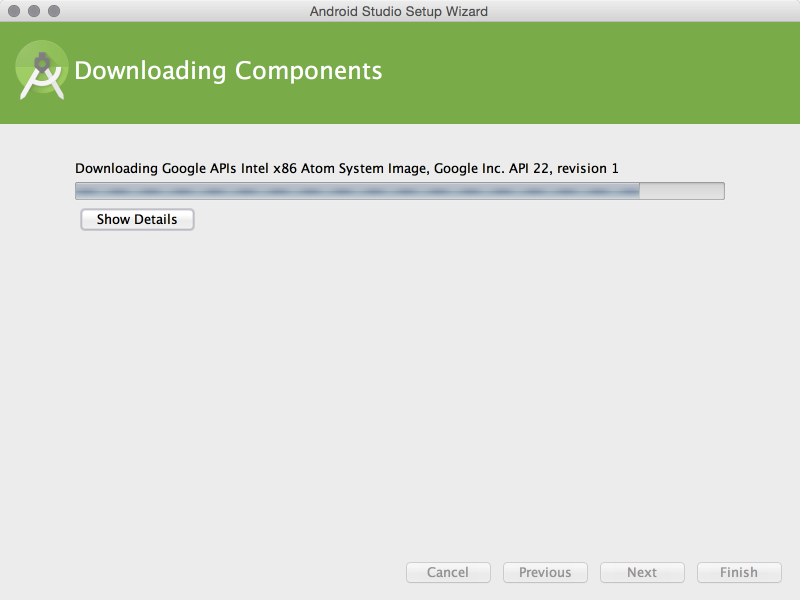
Wait for all components to be downloaded. It might take a little while.
Step 5
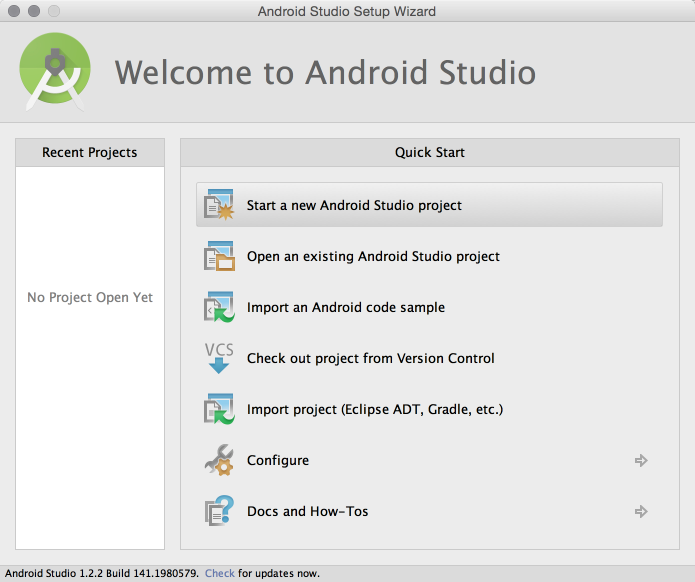
All set? Now it's time to star our new prototype. Click on Start a new Android Studio project
Step 6
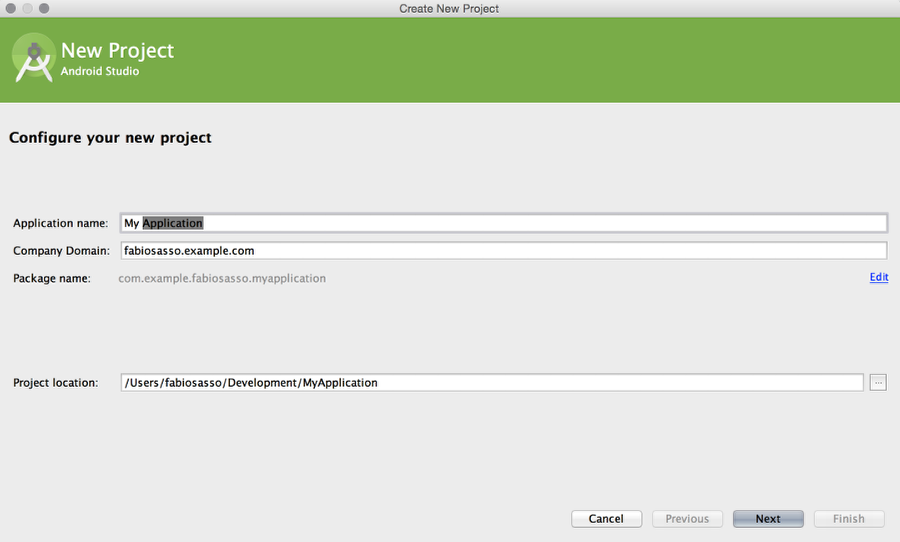
Use whatever you want for Application Name. Also select the location of your project in your machine.
Step 7
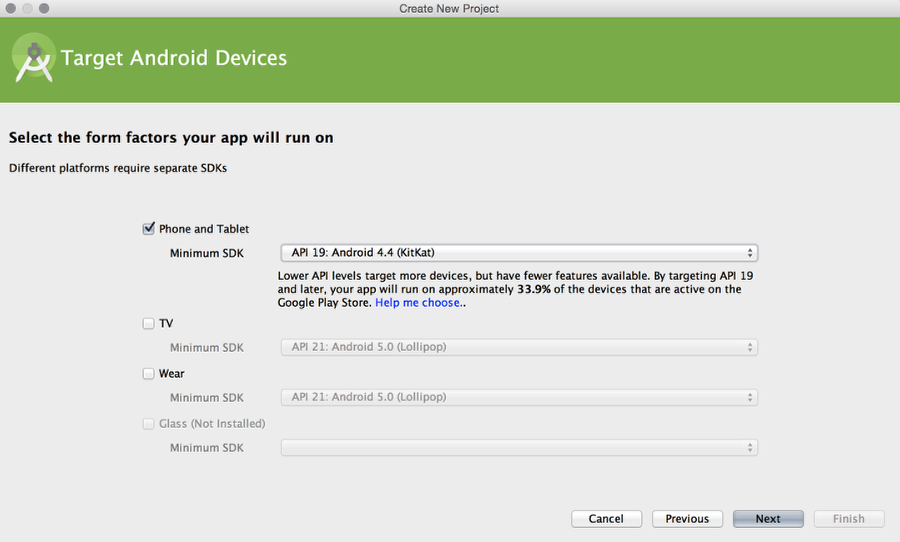
This is an interesting screen. It gives a lot of options: are you creating an app for Phone and Tablet, TV, or Wear? Then you can choose the Minimum SDK. The cool thing is that the tool gives an idea of the average of users with that SDK, in the case of API 19 (KitKat) it's 33.9%.
Step 8
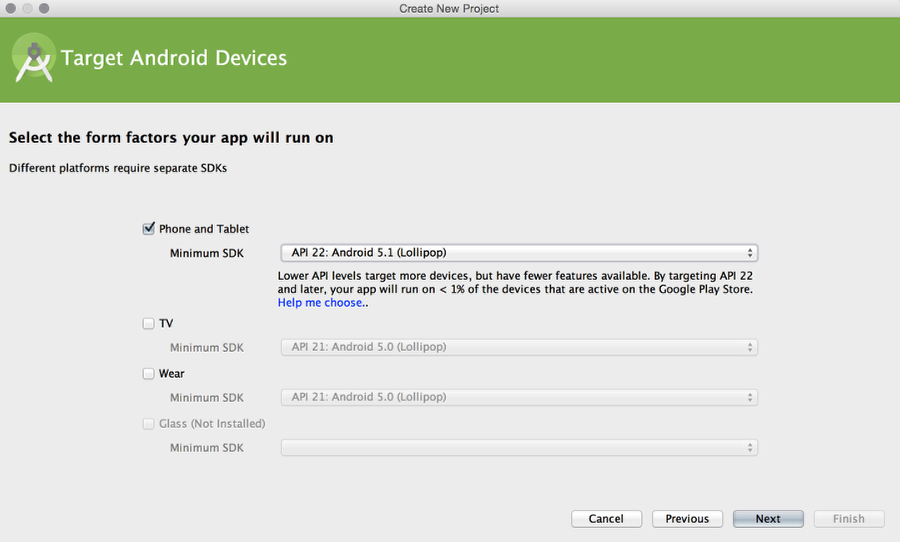
For our case, as we are building a prototype, I will use the API 22. If you want to test on you phone, use the API that your phone has.
Step 9
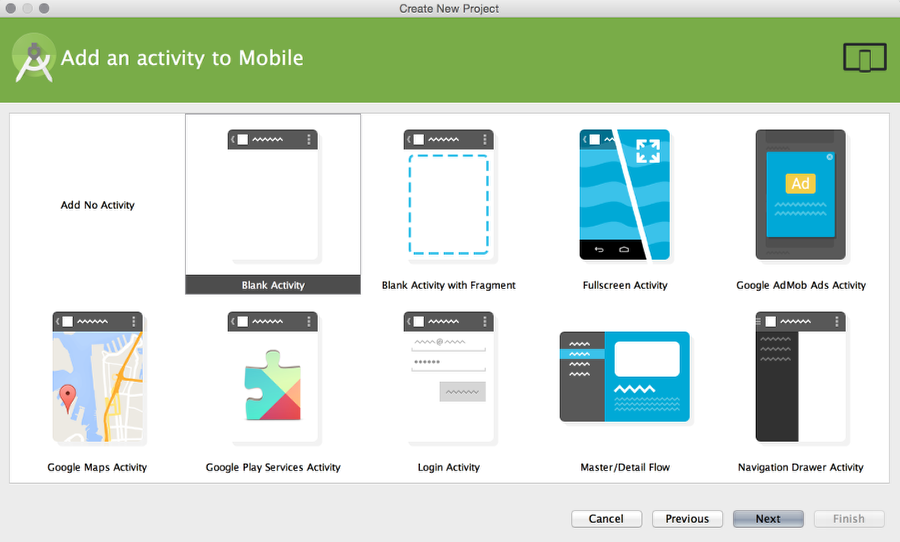
Now the tool offers you some options for the type of Activity you want to create. Activity is the same thing as screen. If you think about in terms of HTML, that would be one HTML page. For our first prototype, let's use Blank Activity.
Step 10
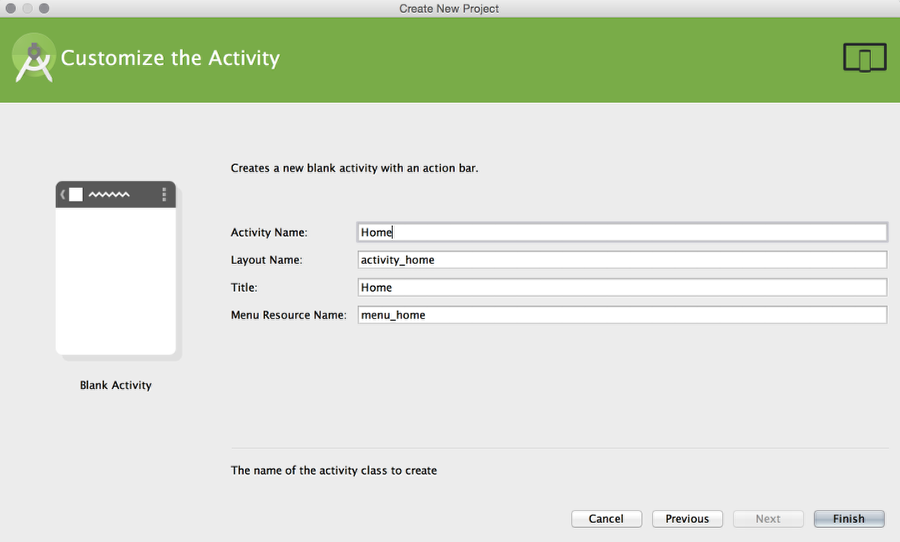
Now you need to give a name to the Activity. I will use Home.
Step 11
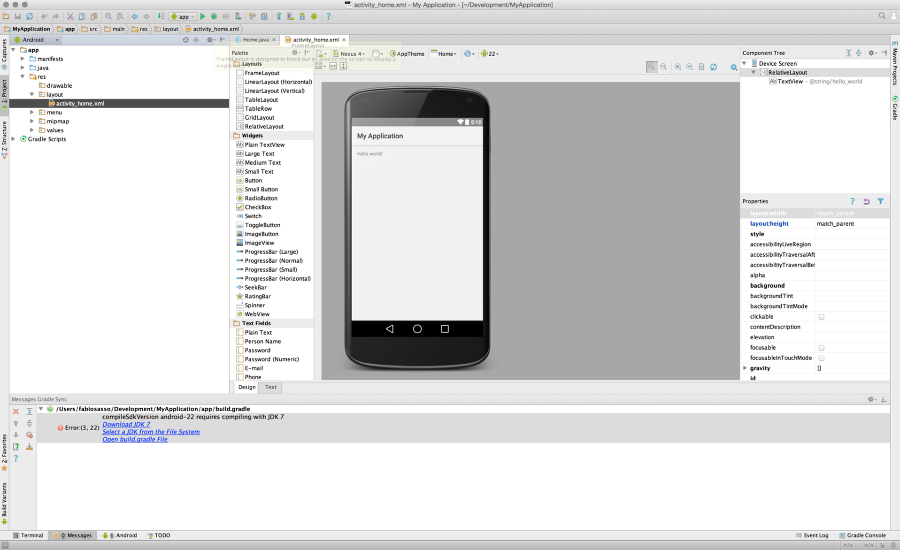
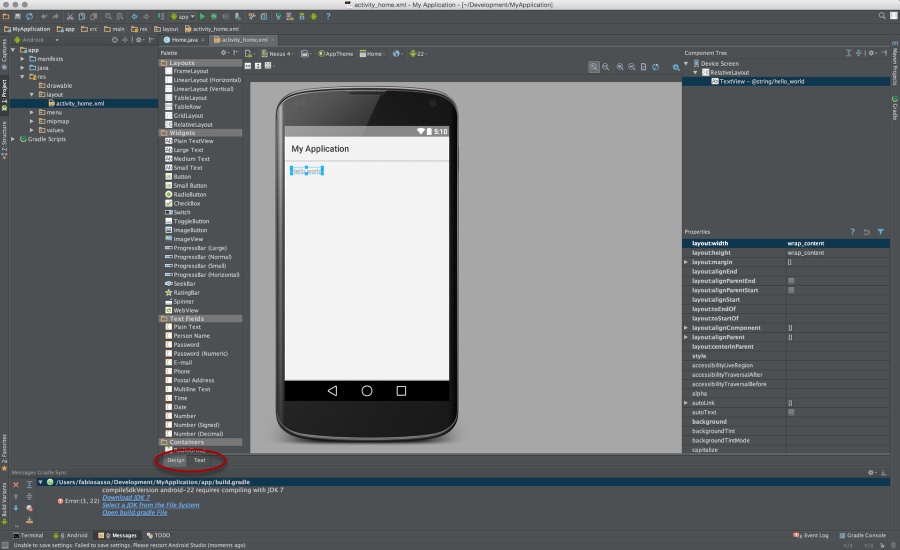
This is the UI of Android Studio. It might look a bit overwhelming but we will go through the main things and you will see that it's not that complicated.
Step 12
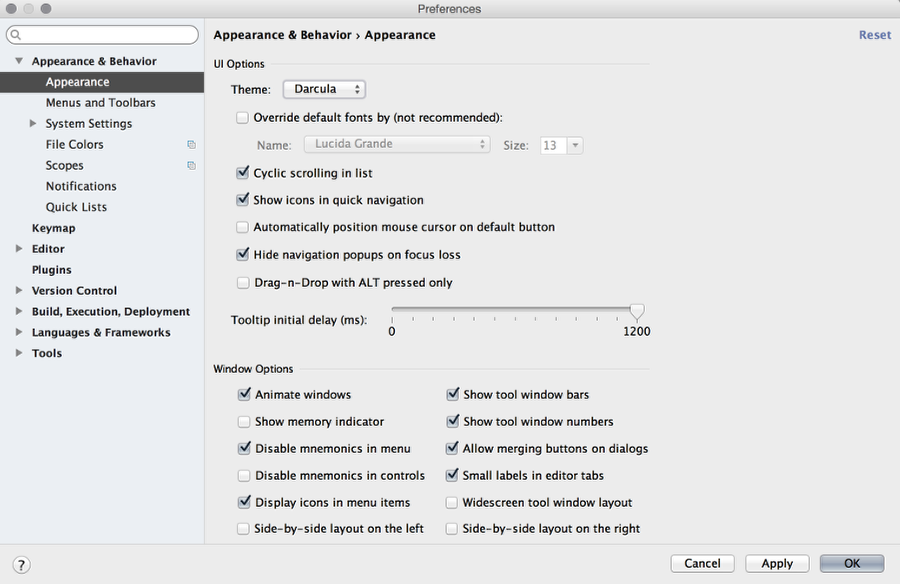
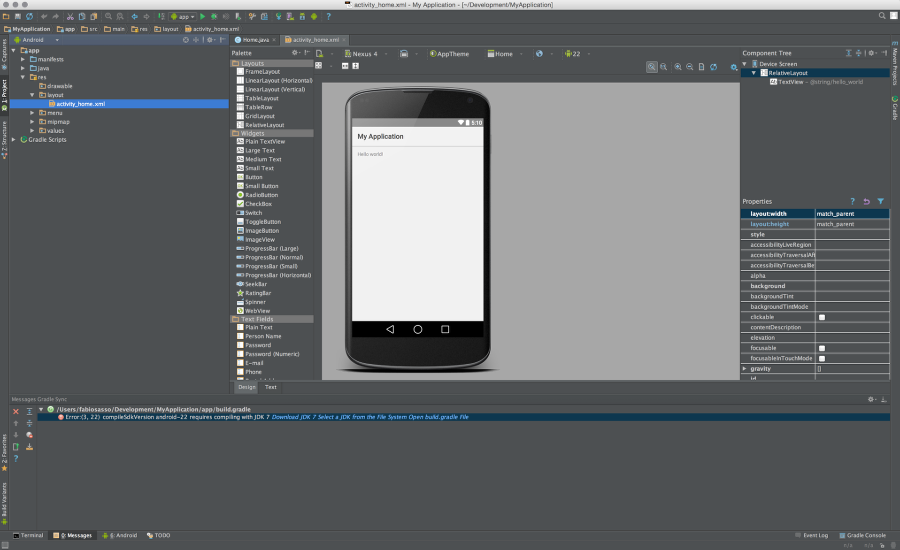
I like the dark theme of the Android Studio, so go the the Android Studio>Preferences>Appearance. Use Darcula for theme.
Step 13
So let's go through the UI. The left column, you have the Project files. With the App, then 3 directories: manifests, java, and res. Res is where the layouts and assets will live. The Layout folder is where the layout of your screens will be. In our example, the activity_home.xml.
Step 14
In the center of the screen is the visual UI. You can select the components, move them around, delete and do whatever you want. You also have 2 taps for Design and Text. That is pretty much a toggle between two ways to design the UI, via a WYSWYG or code.
Step 15
Step 16
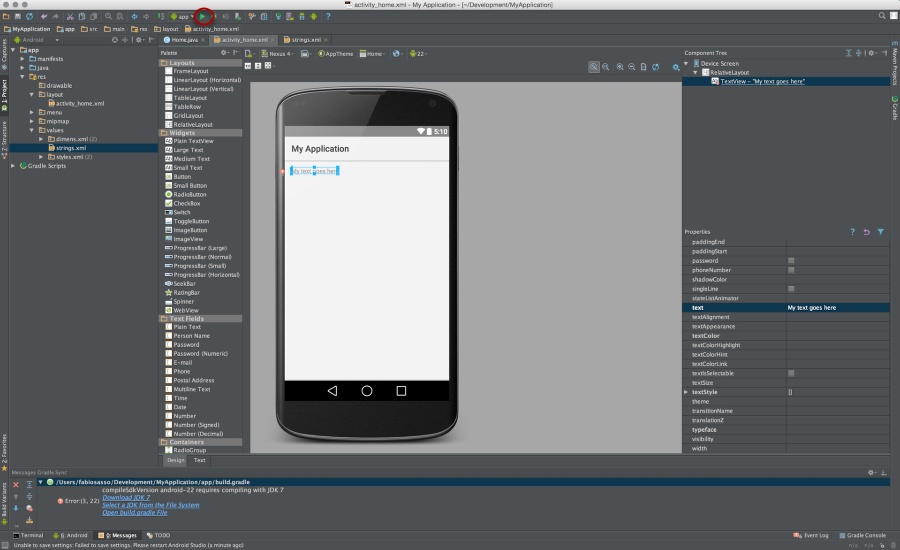
If you want to see how your prototype looks, just press the Play button and select the emulator option.

Step 17
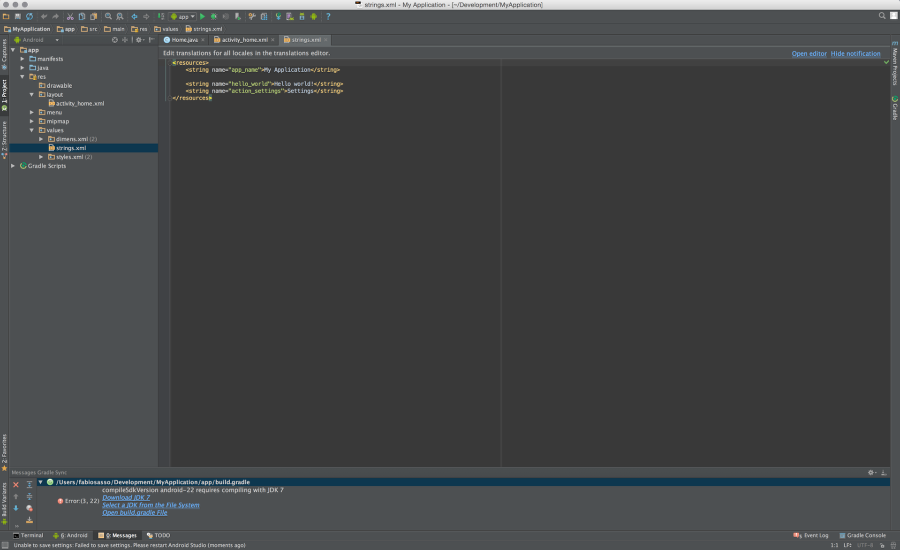
To change the app name, go to res>values>strings.xml. Change the App name to the name you want to use for your application. I am using Abduzeedo.

Step 18
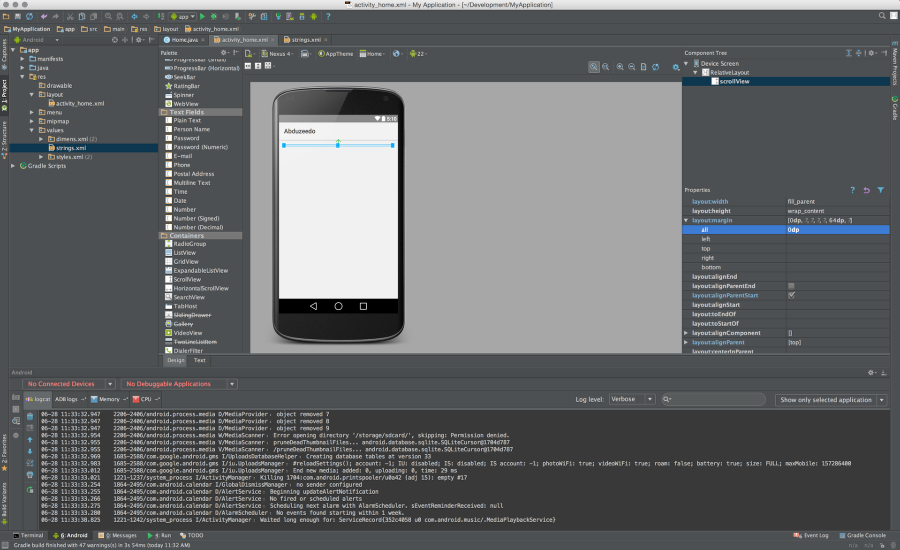
Now let's add some content. The first thing to do is to add a ScrollView. We want our content to scroll so we need to use that component. In Android all components are views.

Step 19
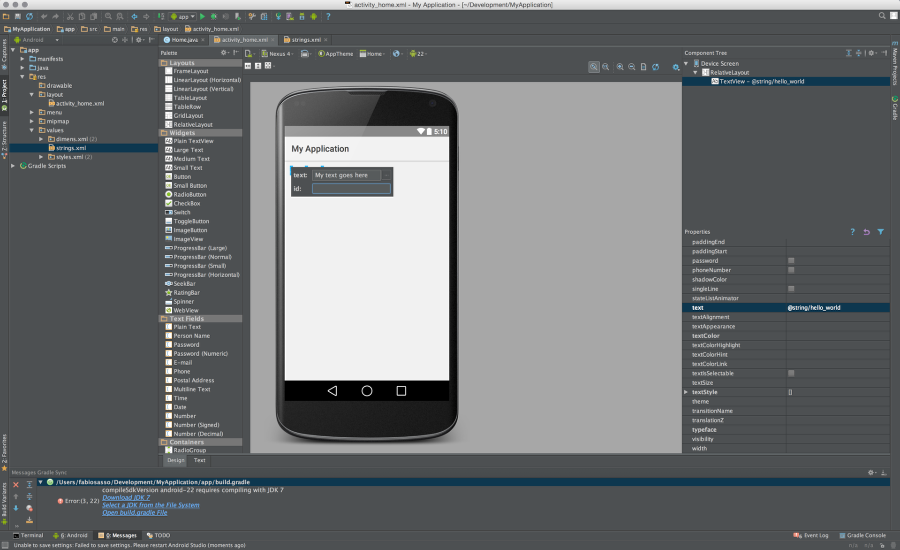
To change the size of your scroll view you can go to the property options on the right corner of the screen. There you can see the first 2 options layout:width and layout:height. Click on the right side and select wrap_content for both.
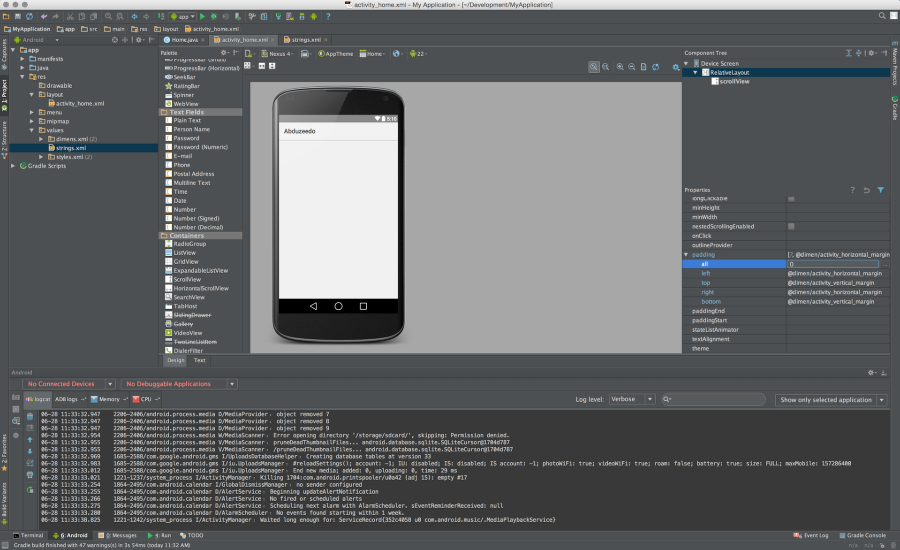
Step 20
Select the Relative Layout that was automatic added to your activit and then in the properties scroll to padding and change the all to 0.
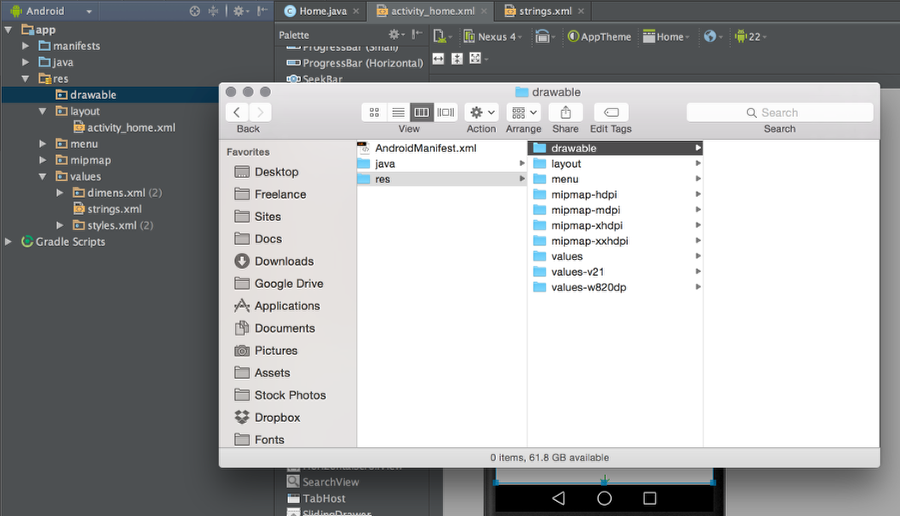
Step 21
To add an image to your layout the first thing to do is to add it to your project folders. Select the drawable folder and with the right click of your mouse select Reveal in Finder. Then move the any bitmap to that folder. There's one thing to note, the filename should be lowercase.
Step 21
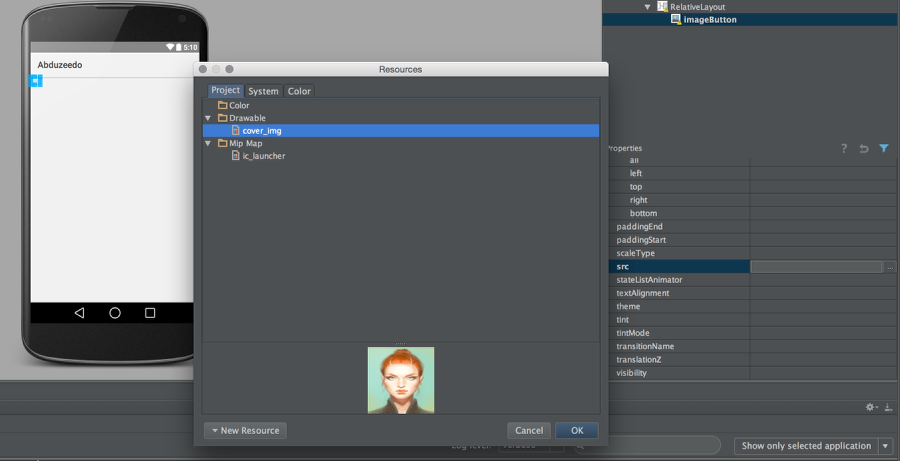
Select the ImageView from the component column, move it to your screen. Then in the property view scroll to src and click on the (...) to open the Resources window. Select your image (cover_img).
Step 22
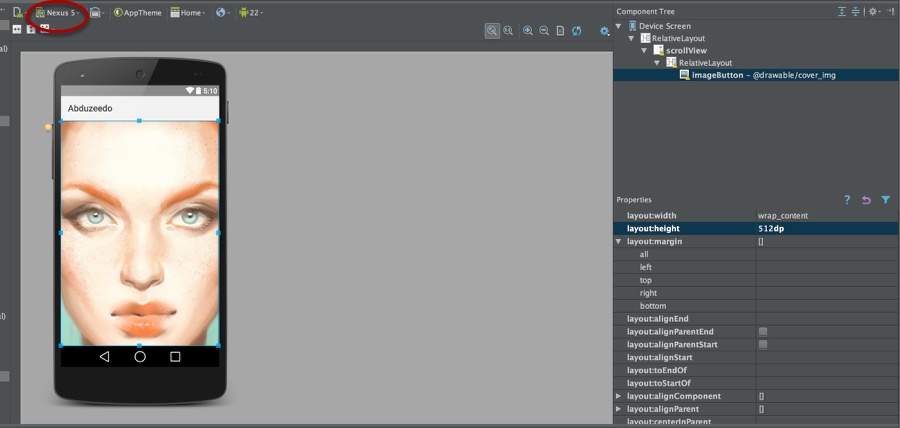
Resize your image to the size you want. I am previewing the layout on a Nexus 5, so I change the layout:height to 512dp. If you want your ImageView to be the exact size and aspect ratio of your image, select the Adjust Bounds options.
Step 23
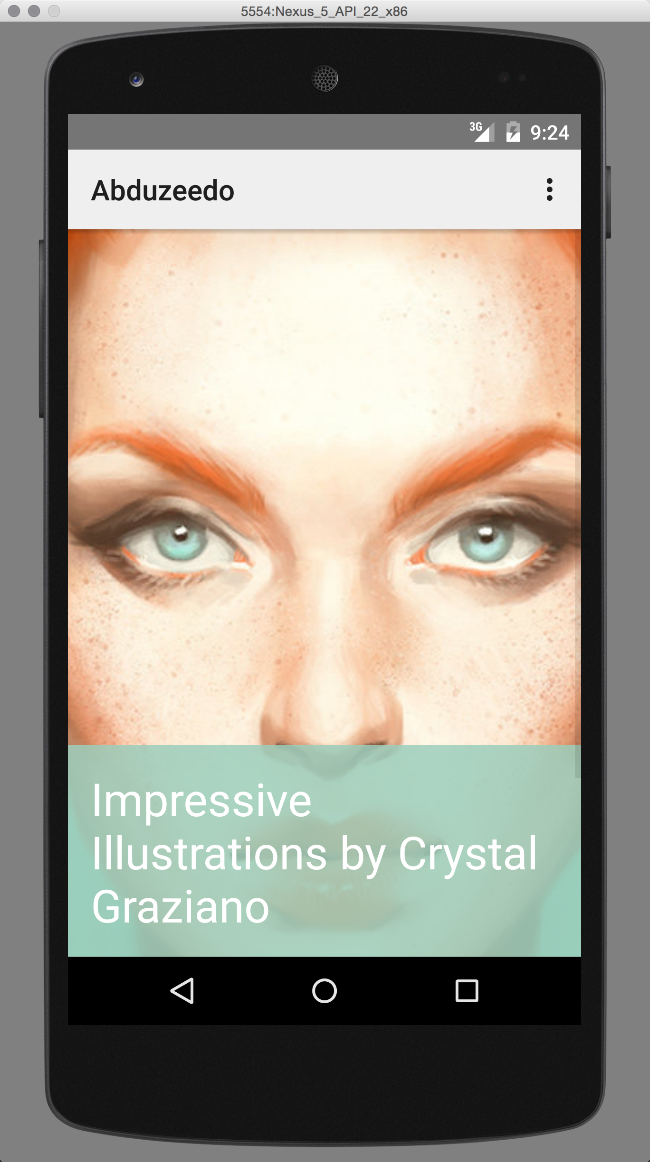
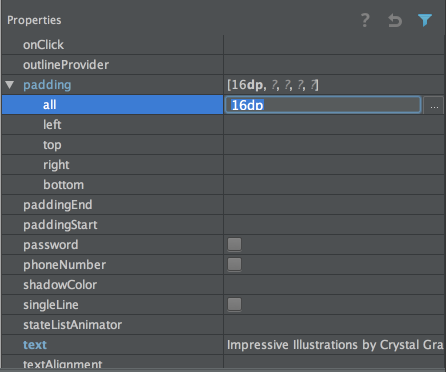
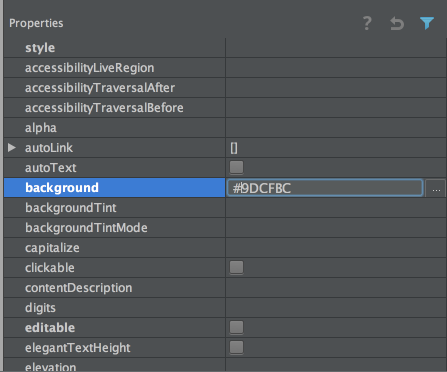
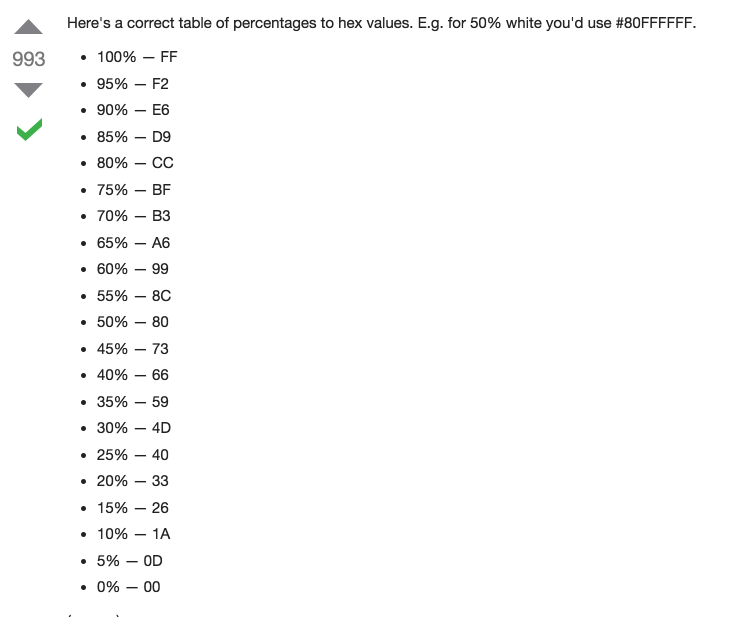
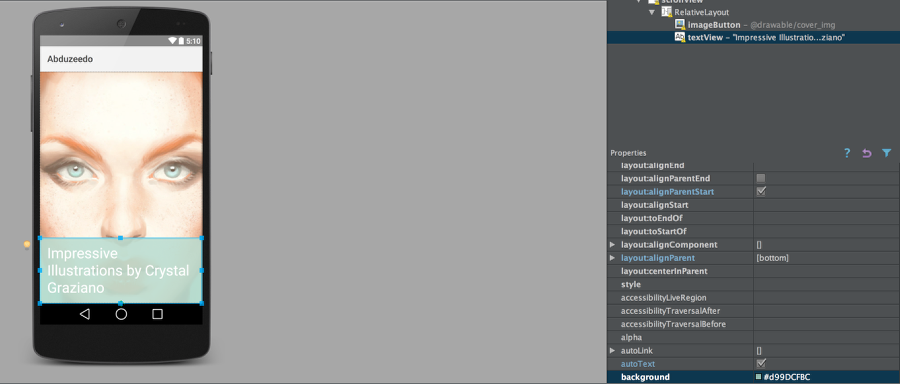
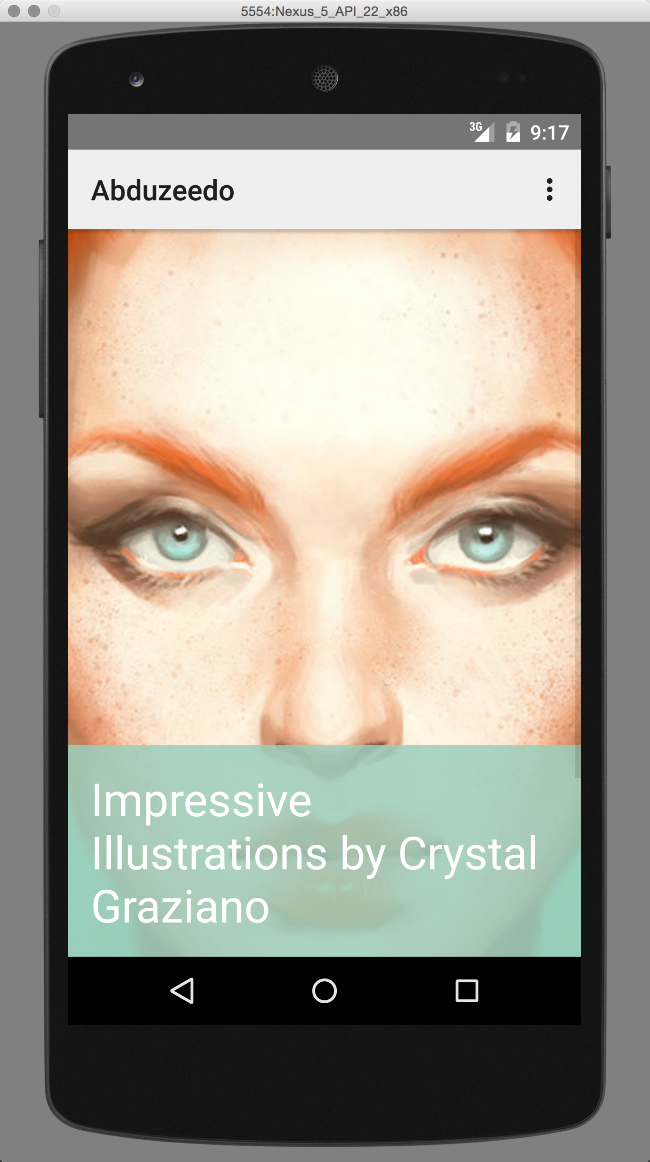
Now let's add the title. To do that select the LargeText View. Then move it to your layout. Position it at the bottom of the ImageView. Then make sure that the layout:width is fill parent, and layout:height is wrap_content. For the padding use 16dp. for the textColor use #ffffff, for the fontSize use 32sp (the screenshot is wrong) and for the background get one color from the image. In the next tutorials I will show you how to extract the color from images. Tip. To use rgba colors you have to use the hex values that include alpha. There's a screenshot with some basic values, but Google is your friend to find out other values.

Step 24
This is the image and the title text with background color.
Step 25
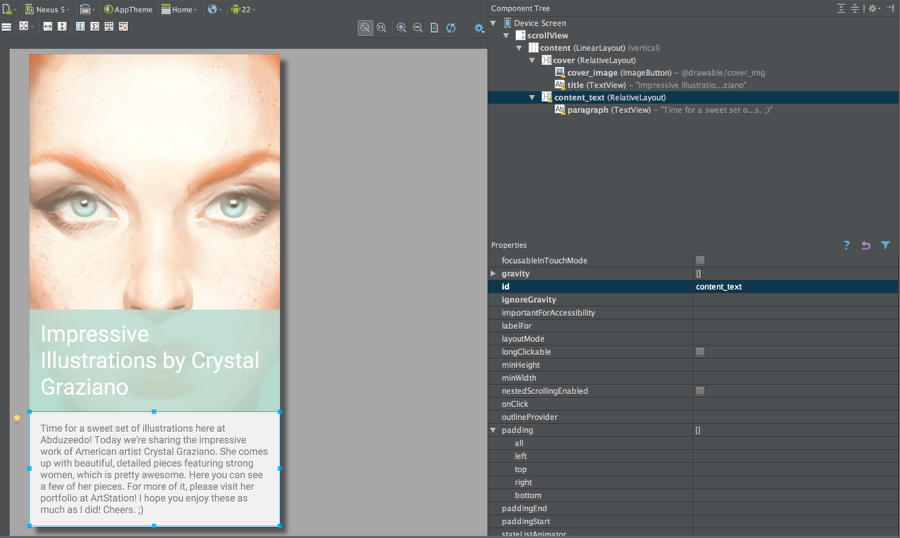
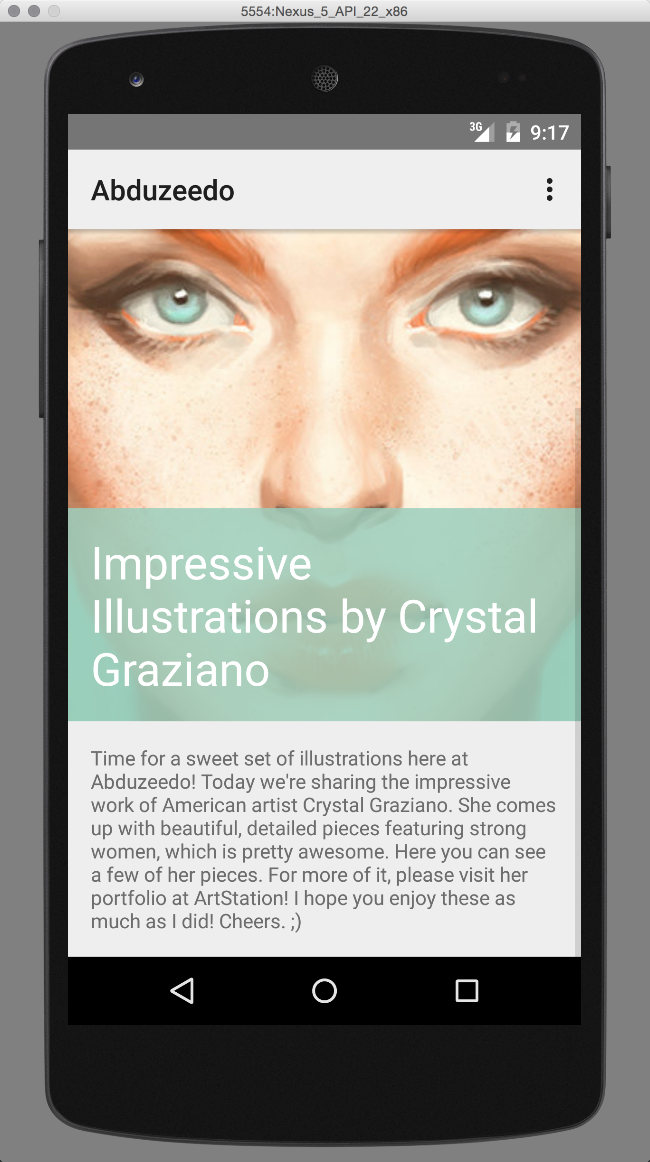
Now let's add another RelativeView and a normalText view in it for our content paragraph. Paste a copy you want for the text and our first layout will be done. Tip. If you want to preview the whole screenview in your WYSWYG view, just make sure that the parent view is a ScrollView.
Step 26
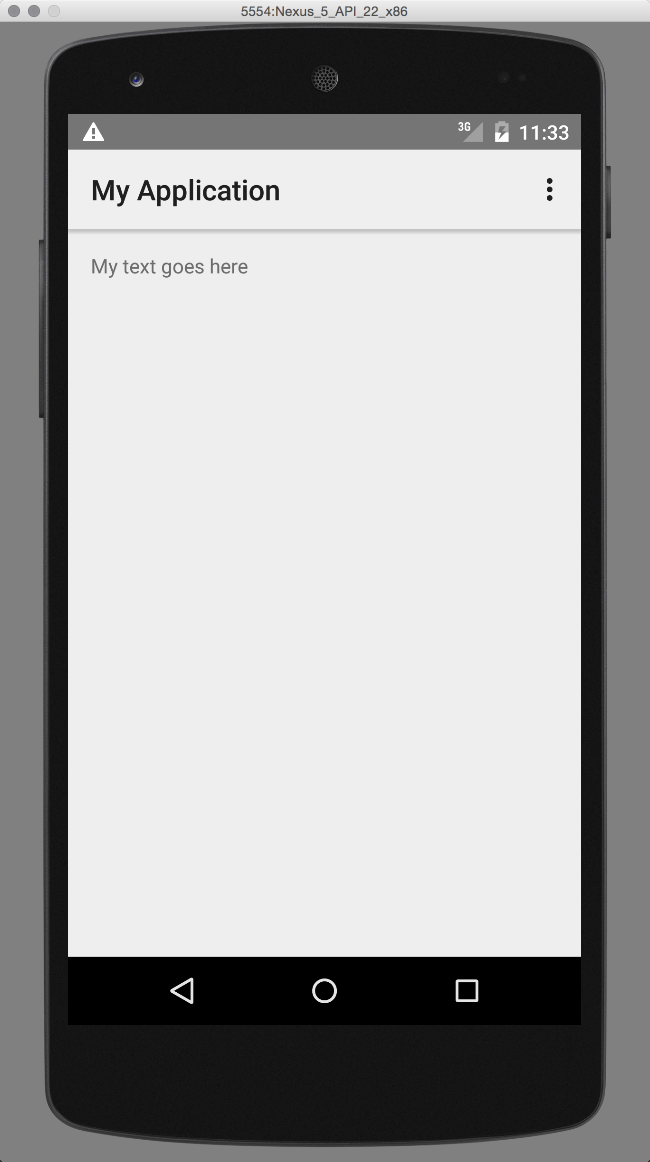
Run the emulator to preview your prototype and scroll to see the text. In future tutorials we will get more advanced with some scroll effects as well.
Step 27
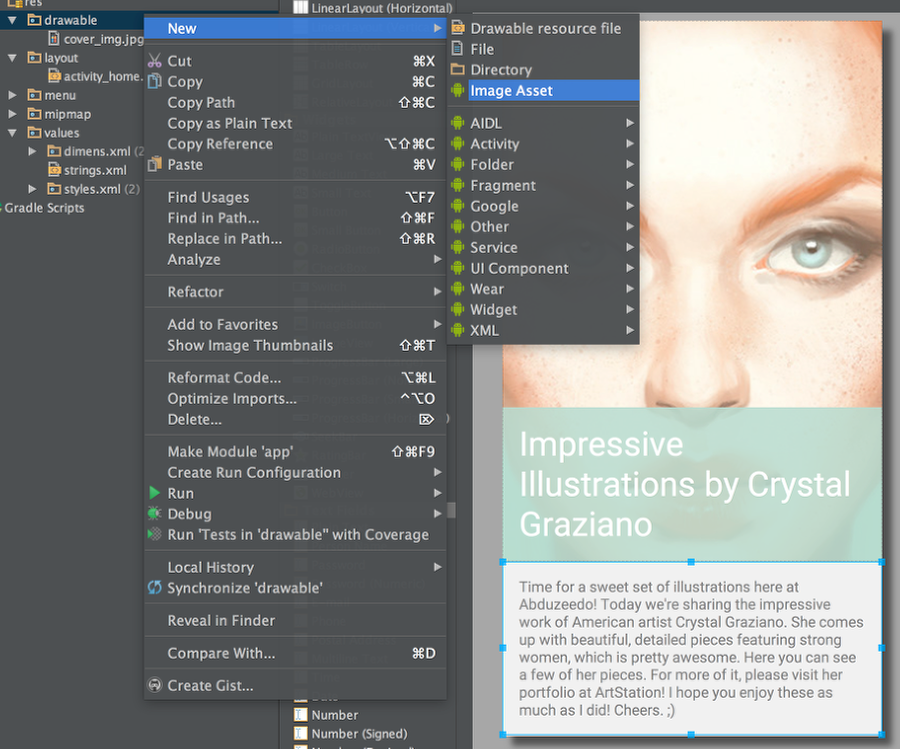
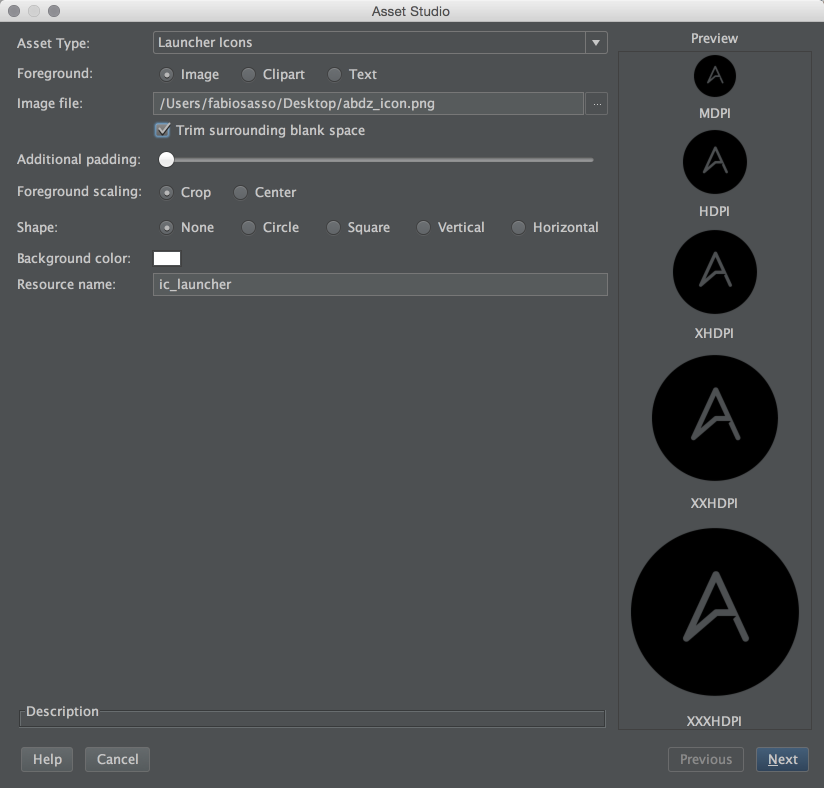
To replace the launcher icon click with the right click of the mouse on Drawable>New>Image Asset.
Step 28
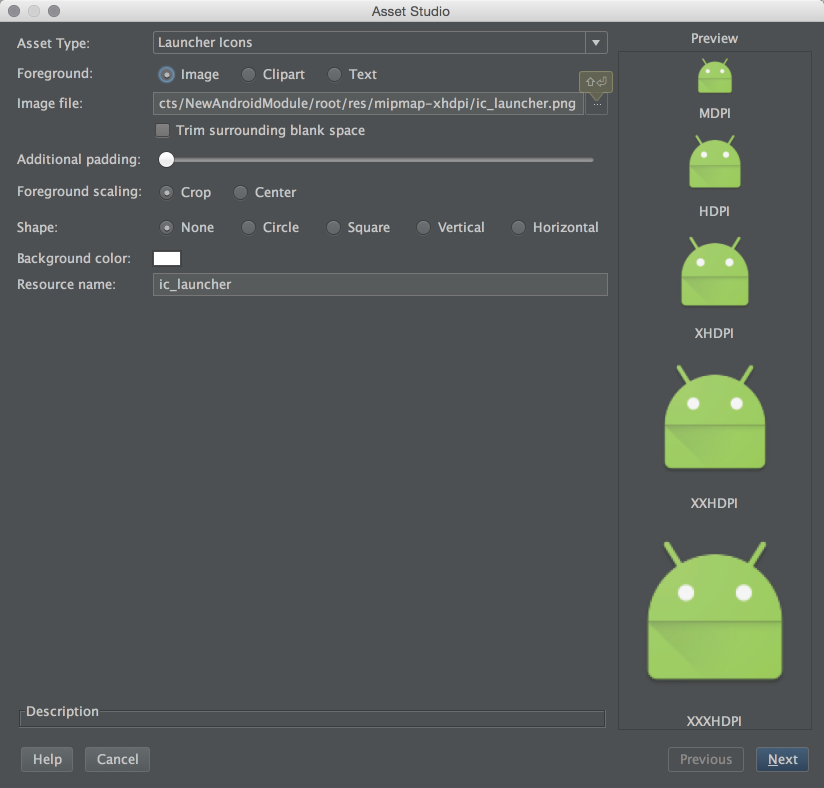
Select the icon you want and the app will generate all sizes you need.
Conclusion
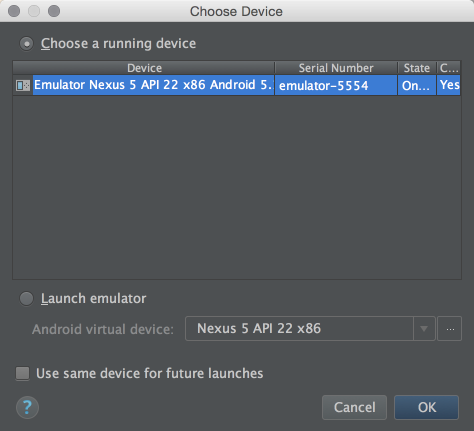
Run the emulator once again and you will see your prototype with the right icon. Also plug your phone and enable it for USB debug. Then press Play and your phone will be listed in the options for where do you want to run the app. Select the phone and run the app. You will have your first app/prototype.